Last updated on June 10th, 2020
The Secchi disc has been a valuable tool since it was first invented by Angelo Secchi back in 1865. It is one of the most important tools you will ever need to grow Spirulina, regardless of whether you’re growing it with or without electricity, on-grid or off-grid, organically, or non-organically.
So What is a Secchi Disk?
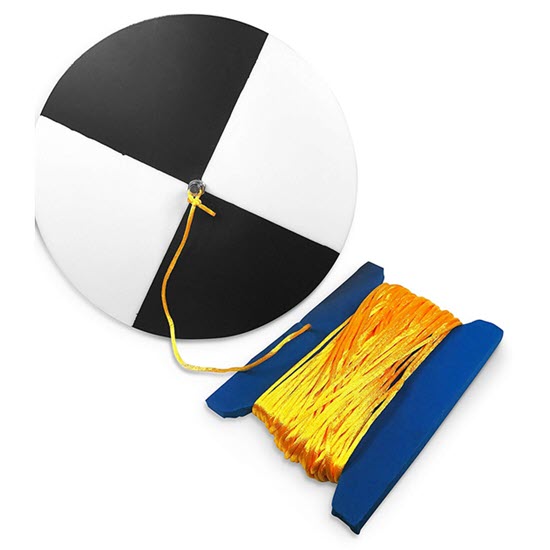
A Secchi disk is a plain circular disk with a varying diameter ( traditionally 30cm / 12 inches), which is connected to a pole or a string from its center and is used to measure the density and quality of water bodies such as wells, lakes and ponds.
In the case of live Spirulina, or any cyanobacteria, the Secchi disk allows us to observe the concentration of our Spirulina culture, indicating the right timing for harvesting and for adding the culturing medium.
While it is an essential tool for any industrial grower, home installations may not need a full-size, professional Secchi disk, and can easily do with a DIY version. Keep reading to find out what it takes!
How to Make Your Own DIY Secchi Disk in No Time
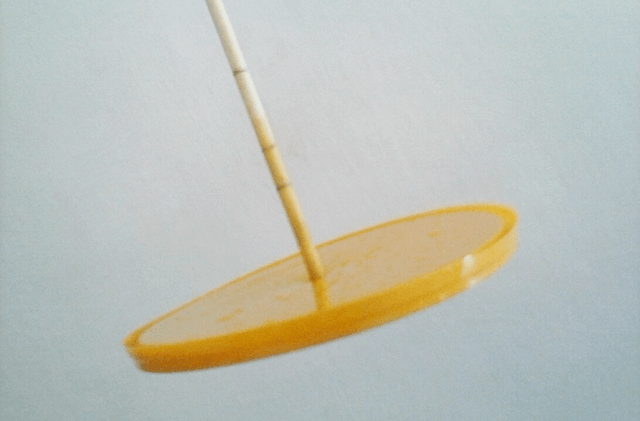
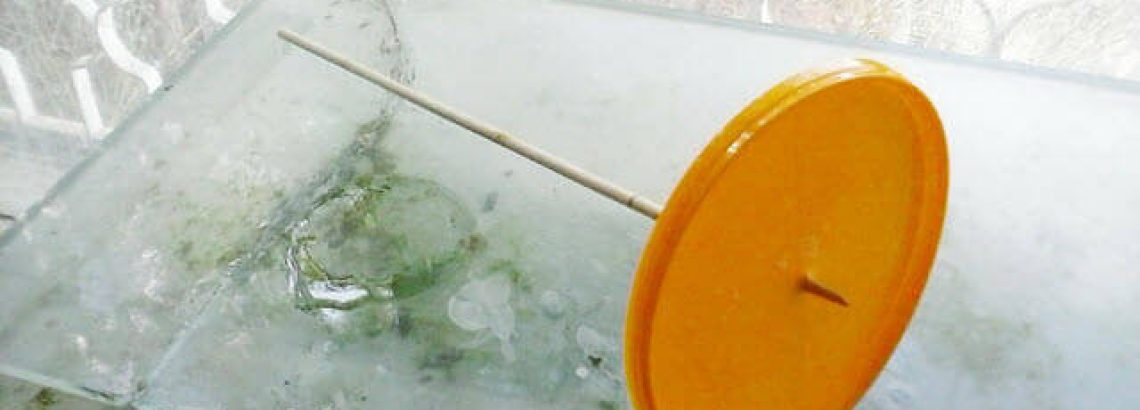
Take a wooden skewer and stick it inside a round plastic lid, like the lid of a mayonnaise jar. Using the skewer, pop a tiny hole in the center of the lid and leave the skewer inside.
Next, mark the following measurements on the skewer, starting from the disk and going upwards: 2cm, 3cm, 5cm.

You may have noticed that the professional Secchi disk has black and white marks on it. These contrasting colors are meant to help you observe the disk more easily while it’s in the water.
You may choose to color your plastic lid, but I don’t recommend it as the paint or glue you use may end up inside your spirulina tank. If contrasting colors are important to you, you may prefer to purchase a ready-made Sechhi disk.
How Does it Work?
We use the Secchi disk on several occasions:
Before adding culture medium
Before you start harvesting your spirulina, dip the Secchi disk vertically inside the water until you reach the 3cm mark. If the disk is still visible from above the tank, it means the concentration is too low and you should not add any culture medium. If the disk disappears at 3cm, and all you see is the deep blue-green color of Spirulina, then the concentration is high enough for diluting with culture medium. Remember that too much culture medium can cause sedimentation and harm your Spirulina, so it’s important to use the Secchi disk every time.
After Adding Culture Medium
After adding your culture medium, recheck the concentration with the Secchi disk. Ideally, it should reach the 5cm mark before becoming invisible again. If you still see the disk at 3-4cm after adding culture medium, it means you haven’t added enough, and your Spirulina will not have enough to feed on.
Before and After Harvesting
Once your tank has reached its full capacity, it is advisable to let the concentration rise before harvesting for the first time. In this case, we use the 2cm mark, and only harvest when it becomes invisible. Again, following the harvest, we would replace with appropriate nutrition and then recheck with the Secchi disk to see that our concentration has lowered to 5cm. From this point onwards, you can harvest every time Spirumeter reaches 2-3cm, and replace with appropriate feeding as described in our eBook.


